11. GUIDES AND KEYPAD

Published on 4. June 2013 by Johannes Huefken

Last week the keyboard was drilled with the frame. Now we'll get back to the blackboard.

  1. The slotted sleeves
  2. Drawing a keyboard picture on the board
  3. keypads
  4. Gluing on the key coverings
Board with glued-in slotted sleeves

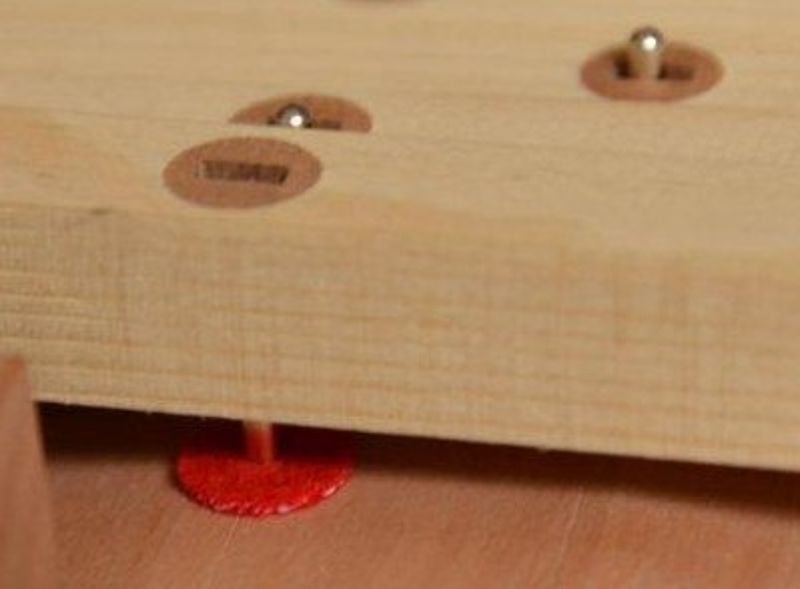
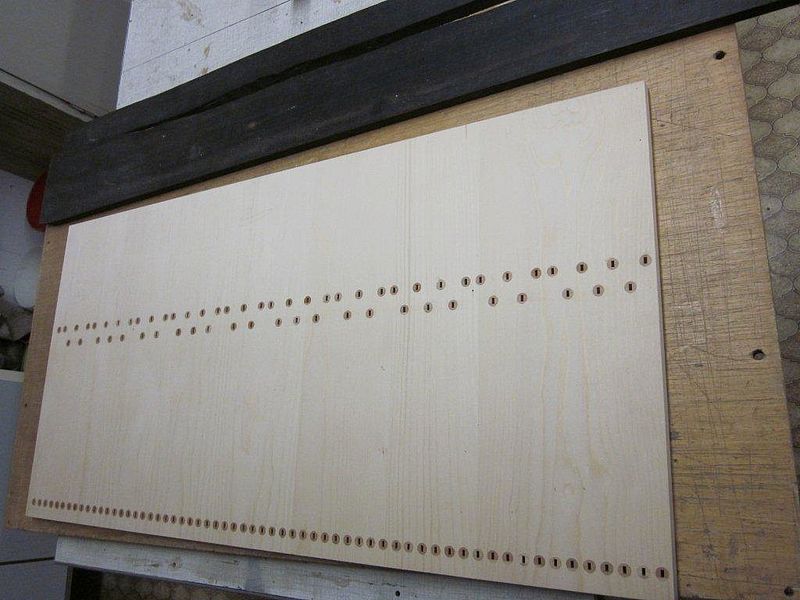
1. the slotted sleeves

While the key is being played, it rotates around the pin that is driven into the balance beam. There is a hole on the bottom that is exactly the same diameter as the beam pin. A 10mm hole is drilled from above towards this small hole, only so far that the small hole is only 2-3mm deep. This small oblong hole sleeve is now glued into the top side. Of course, the slot must be aligned along the key in the direction of movement. This way the key is well guided, but it is not stuck in the wood. The rear guide is first drilled out completely with 10mm and then also provided with an oblong hole sleeve.

Finished key guide on the balance beam

2. draw keyboard picture on the board

The key pad for the bottom keys should be glued to the spruce panel as an ebony board. The keyboard picture must be drawn on the board so that there are no joints on the keyboard surface. Then the ebony will be put together between the keys.


3. key coverings

There are many types of wood that can be used as a key pad. Because I could not introduce all of them, I would like to start by explaining the requirements for the key pad.


  1.  It must be within easy reach. Even more than the upper keys, the lower keys are also used with the fingernails.
  2. It should have fine pores so that neither germs nor dust particles can collect in it.
  3. It should be wood, which by nature has no crystal inclusions like merbau. Because the normal craft business does not always work with diamond saws - and mill with which such wood can only be processed.
  4. They should be decorative. The key pad forms the connection to the player regardless of whether you choose a simple or an extravagant keyboard picture.
  5. Even hard and fine-pored wood tends to look dirty after a while when it is very light, e.g. hornbeam.

Ebony, boxwood, rosewood, amarello, cocobolo, lilac, pear, elderberry, paduk

Roughening the bottom key pad

4. glueing on the key coverings


When the footswitch panel is assembled, it must be roughened. Tropical wood species in particular can contain oily substances that reduce durable gluing. The rough surface favours a stable lending due to the positive fit. Modern glues can also be used for gluing these types of wood. In addition to polyurethane glue, there are also solvent-based glues that bond oily wood very well.


Wet both sides with a little glue and then press with the appropriate pressure.

Too much glue has disadvantages:


  • A thick glue joint never holds as good as a thin one.
  • Glue squeezes out and must be cleaned.
  • The objects to be glued tend to slip during pressing
Gluing on the bottom key coverings
In order to work economically, the bottom keyboards of the organ keyboard were glued on at the same time.


But there is also an advantage to "too much glue": the sight of the glue bulging out gives the certain feeling that you have used enough glue.

In the next article, among other things, the keys are sawn out. Until then the glue may harden, and we bring the band saw blade of our band saw once again to the sharpening service...

READ MORE IN GERMAN