Part 6. VENEER - GLUING
Published on 25. April 2013 by Johannes Huefken
In the last article we put the veneer together. To finish the veneer, we glue the veneer today. But do not fall into the misconception that both are equally time-consuming. Let's assume I spend 150 hours with the cutting (chapter 5), then 30 minutes must be scheduled for the gluing and 4 hours for the pre- and post-processing. Since these 30 minutes are of decisive importance for the successful completion of the veneer work, that's what it's all about today.
- The glue
- The problem
- The preparation
- The gluing
- A little rework
1. the glue
In principle, veneer can be glued on with almost any glue. Even hot-melt and contact adhesives such as Patex can be used with the appropriate technology.
A press with heatable surfaces is a great advantage. Then Kaurit glue can be used. Besides its high strength, the glue has the advantage that it sets quickly. Second, it becomes hard like "glutin glue" bone glue. In Chapter 3 "The soundboard" I have already explained how important a glue without elasticity is in the harpsichord.
2. The problem
As soon as the glue touches the veneer, the wood expands due to the action of moisture. This means that one side is in contact with moisture for longer before pressing. If a more and a less moist (expanded) veneer side is glued on, then the veneer recedes unequally during drying. Tension and curvature are the result. This phenomenon is stronger with wide glued surfaces. If I first glue only one surface, then I will definitely take a curved plate out of the press. Should the other side of the panel be glued on?
Do you have an idea? I look forward to a comment from you.
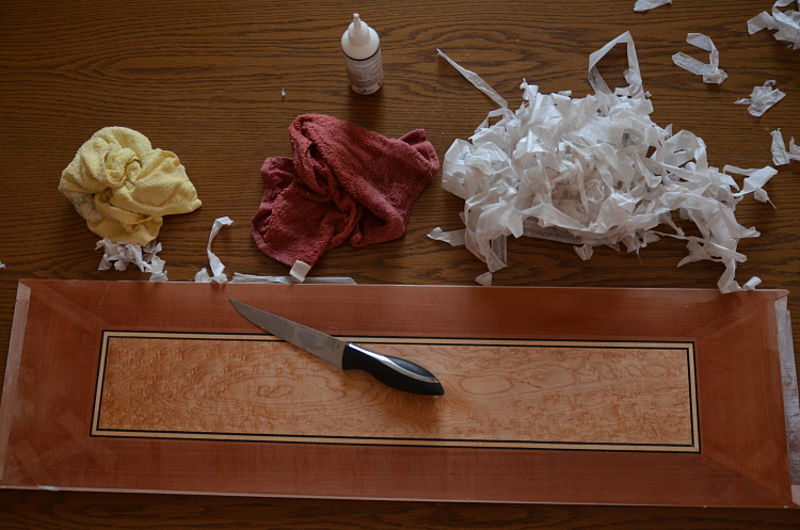
3. Preparation
The carrier material on which the veneer is glued must be absolutely flat. Today's joineries can no longer do without a calibration machine. You will find an open ear with them and they will be happy to help you with their technology. These grinding machines take only a few tenths and bring the carrier material to an exact and flat thickness. The carrier material should have slightly larger dimensions than the veneer blank, then the veneer can be well fixed at the edges with adhesive strips. The press is first checked for glue residues from previous gluing and cleaned again if necessary. Then the pressing surface is lubricated with a release agent. This prevents the glue that comes out at the edge or even penetrates through the veneer from establishing a connection with the press.
- The veneer sheets are prepared and clearly assigned. The exact position of the veneer surfaces must also be determined and marked on the carrier material so that the pattern fits well on the inside and outside. Once the glue is applied, everything has to go very, very quickly. Everything has to be perfectly prepared so that we don't have to think anymore.
- The correct pressing pressure for the corresponding panel size must be calculated and set on the press.
 |